


Most of us have been there. We come out to our vehicle, stick the key in the ignition, go to start the engine, and nothing. Your stomach drops and frustration starts to set in. Your battery is dead. What do you do next? If you have a roadside assistance service, you give them a call, explain the issue, and they send someone out to help get you started. However, what if you don’t have a roadside service, or for some reason you can’t reach them?
In This Article
Plan Ahead: Have the Right Tools for the Job
Step 1: Make Sure You’re in A Safe Location
Step 2: Find Assistance
Step 3: Prepare Your Workspace
Step 4: Identify the Battery’s Positive and Negative Terminals
Plan Ahead: Have the Right Tools for the Job
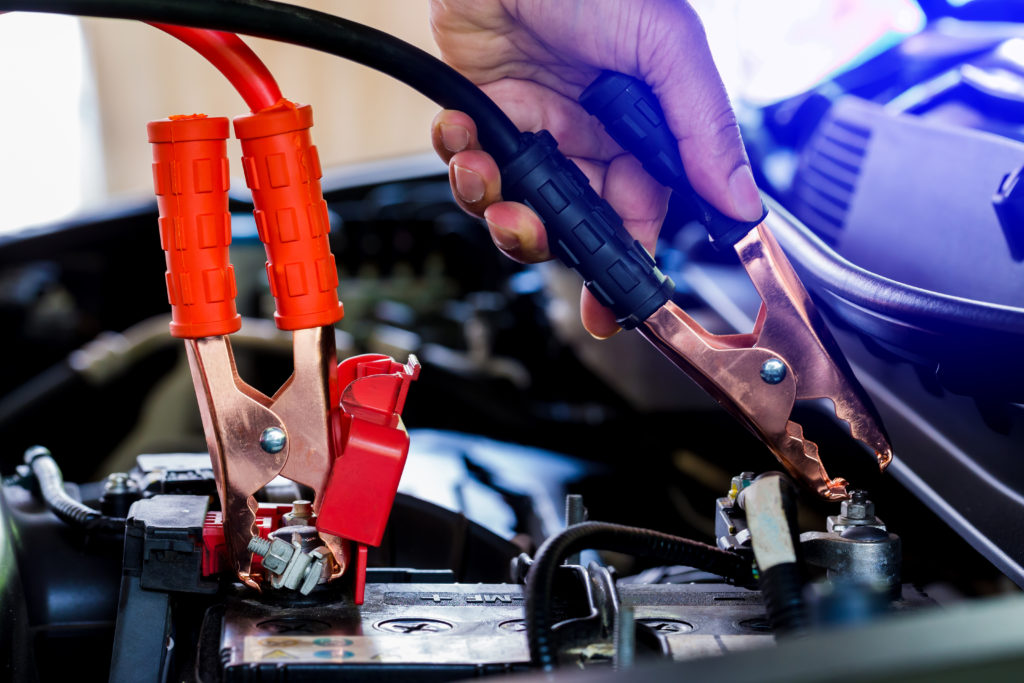
In order to get your vehicle started again, you’re going to need a good pair of jumper cable. Timothy Dahl of Popular Mechanics explains, “Any pair of jumper cables is better than not having any at all. But if you are buying new cables, look for ones that are 4 to 6 gauge in size and at least 20 feet in length. Beefier cables and heavy-duty clamps will be more durable and provide a better connection. It’s not always possible to place vehicles right next to each other, so having longer cables will ensure the batteries can reach each other.”
Step 1: Make Sure You’re in A Safe Location
Safety should always be your most important concern. If your battery is dead, your vehicle is most likely parked somewhere out of the way of traffic, however that’s not always the case. If necessary, your first task should always be to navigate your vehicle to a safe location out of harm’s way. Once there, you can assess the situation and continue to step 2.
Step 2: Find Assistance
Unless you carry around a portable jump starter kit, you’re going to need the power from another vehicle’s battery to boost yours. You’ll likely want to call a relative or friend in to assist, however, if you’re in a pinch, you’ll have to rely on the kindness of strangers to lend you a hand. Find someone willing to help and ask them to park their vehicle next to yours in a manner that will allow your jumper cables to reach from their battery to yours.
Step 3: Prepare Your Workspace
With the vehicles parked near each other, you’ll want to start to prepare the area. Make sure both vehicles are placed in park, and the keys removed from the ignition. Pop the hood of both vehicles and secure it upright. Being careful not to allow the clamps to touch each other, lay the cables out to ensure that they’ll reach. You’re now ready to begin the battery jumping process.
Step 4: Identify the Battery’s Positive and Negative Terminals
This step is crucial as mixing up the terminals could have dire consequences. All car batteries have two terminals: a positive and a negative. If you look closely, you’ll usually be able to denote which one is which by the presence of a “+” or “-“ symbol next to the terminal. Often times, there will also be red and black wires coming from the battery. The red wire denotes the positive terminal, and the black wire denotes the negative terminal.


 Motorlease Fleet Management & Leasing Solutions